Saturday, June 21, 2014

Chevron Pillow


Oh yes I am hanging my head in shame! I CANNOT believe I haven't blogged since November! Wow. Time to change that!

A lot has happened since I last blogged. I went back to school and became a nurses assistant working with elderly patients with dementia. Something I had never thought about doing, but I absolutely love it! The patients are so insightful and wickedly funny! Another school year has finished and my children are now in 8th, 6th, and 4th grades!


I have also started teaching at my LQS (Local Quilt Store) again and thought I'd show you a class I'm teaching in July, since I just made the class samples and it's freshly in my mind!


I absolutely adore Kaffe Fasset fabrics and when paired with a rich Kona Solid they're especially delicious!
This class is a pillow making class, with a twist - it's a two-for-one class, in that you make one pillow, and the scraps from that pillow magically become extra blocks which you turn into a second pillow. Very very cool! It is using a chevron block (can we start calling them what they are folks? ZIG ZAGS!) with a technique I've been using for years but is just becoming more common. I even have a tutorial HERE if you'd like to try it out.


Here's to a great summer of fun, and I promise, of more frequent blogging!

Monday, November 18, 2013

Green Hutch

I thought it would be fun to show you some of the projects I've done in my new sewing area, starting with the first one I did, a hutch.


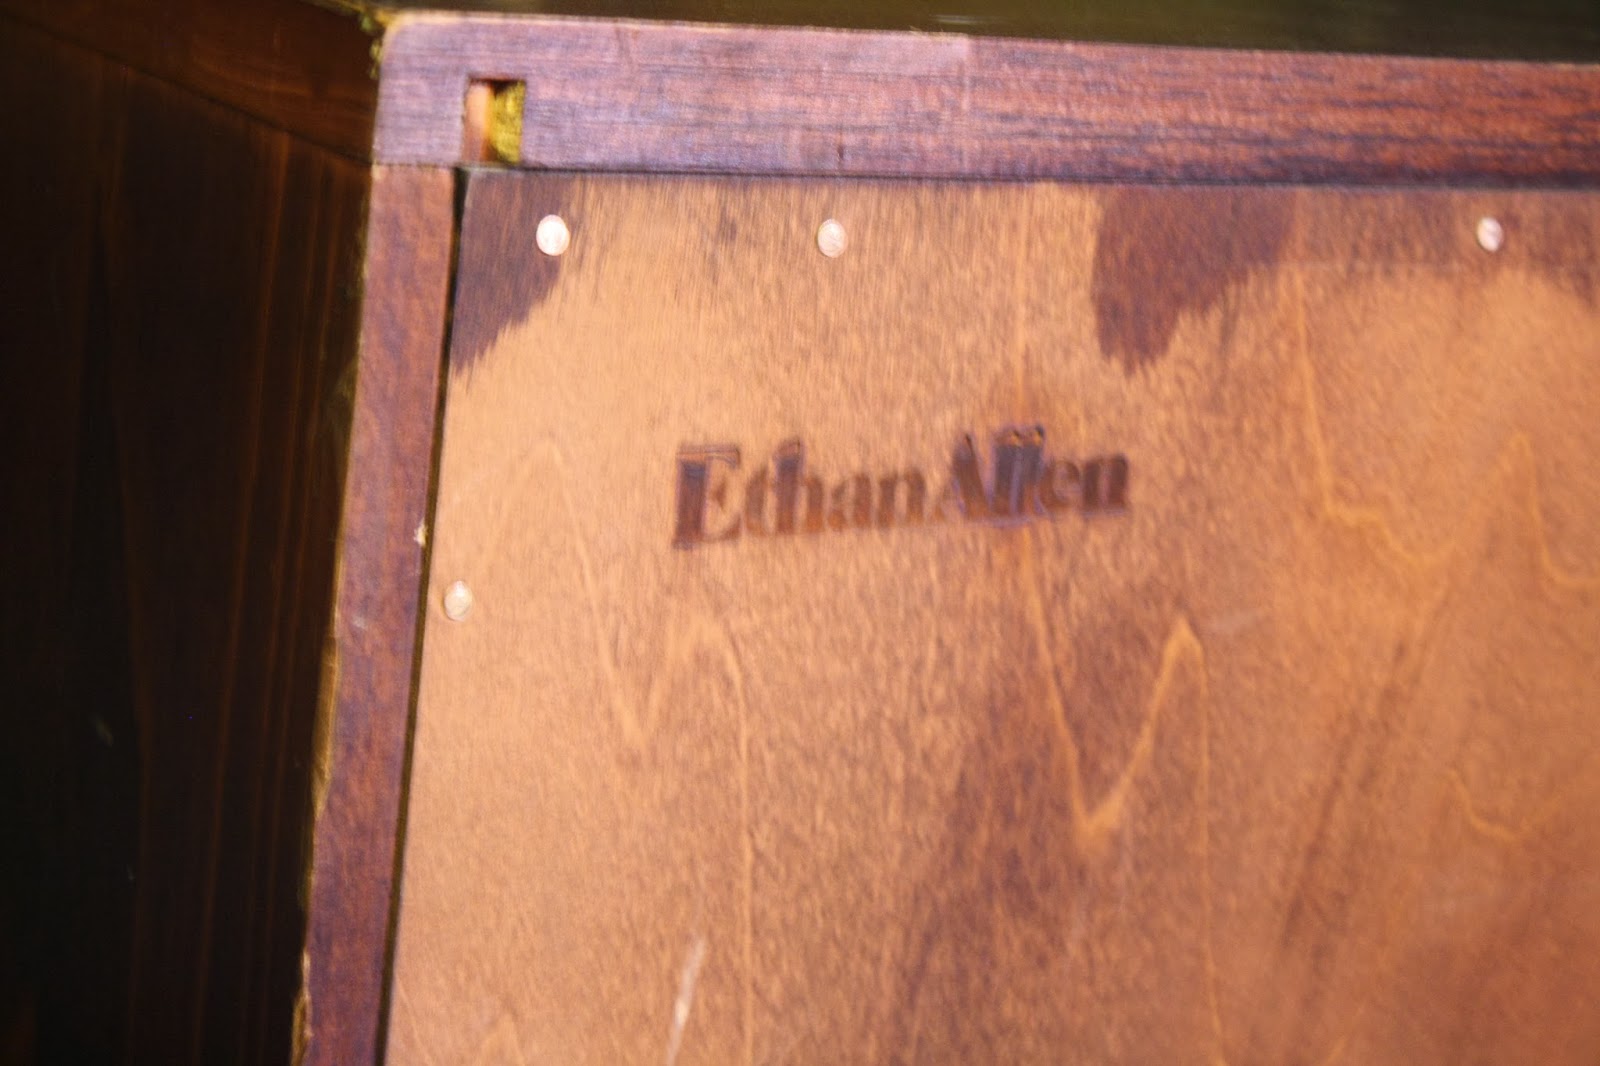
I had been scouring thrift stores looking for something the right size and shape, and very importantly, the right price! Prices sure do vary at different thrift stores, but I finally found one for just $29.95. I was thrilled, especially because it was solid wood. It wasn't until I got it home that I saw it was an Ethan Allen hutch, which is known for well made pieces of furniture.

The two things I didn't like about it were 1) the dark stain and 2) the knobs. Both had to go! I also felt that the doors on the hutch dated it, so off they came. I'm saving them for another project.


After some research online - OK I'll admit, after many hours on Pinterest, I decided the best way to approach painting this beauty was the new craze of DIY Chalk paint, as no sanding is needed. No way did I want to sand all the nooks and crannies of my hutch!

There are a few variations you can make online. I have some links for you to peruse... HERE HERE, and most thorough of all, HERE. For my project I went the Plaster of Paris route. I applied the undercoat with a brush, (doesn't it look awful with just one coat brushed on below?!) and the top coats with a foam roller. May I just say the foam roller was amazing?! No brush marks, it went on easily, and just worked out really well. It took 3 coats to cover, but using chalk paint hastens the drying time. Just an hour - if that - between coats.


I finished the project off with a couple of coats of wax which was fun to apply, but more labor intensive than I thought it would be. However, a month after doing it, I must say, the finish has been fantastic - not a scratch, not a chip, nothing!  The only thing I would do differently would be to apply a coat of white primer first instead of using up my precious quart of paint and needing to buy more, albeit just a tester size! With a coat of white primer however, the quart would have been plenty.

I had a terrible time deciding on a color. At first I was just going to go with white. Fresh, clean and simple, then I thought hmmm - I need something different and loads of color. So of course the next choice was Behr's Carolina Parakeet, a nice lime green! I mean, isn't the the natural progression of your thought process?!

Now that it was all painted, it needed new drawer pulls. I went to Hobby Lobby and found an assortment of ones I liked on clearance. I spray painted the large brass pulls white, and now I have a nice eclectic mix of pulls.


I've started to 'dress' the hutch with some do-dads and nick-nacks....

A blue glass bowl holding my Anna Maria Horner stash...

A wire basket holding my Kaffe's (which needs to be neatened, I know I know!) and a chevron basket (to match my floor!) holding my selveges which I WILL turn into something one day...


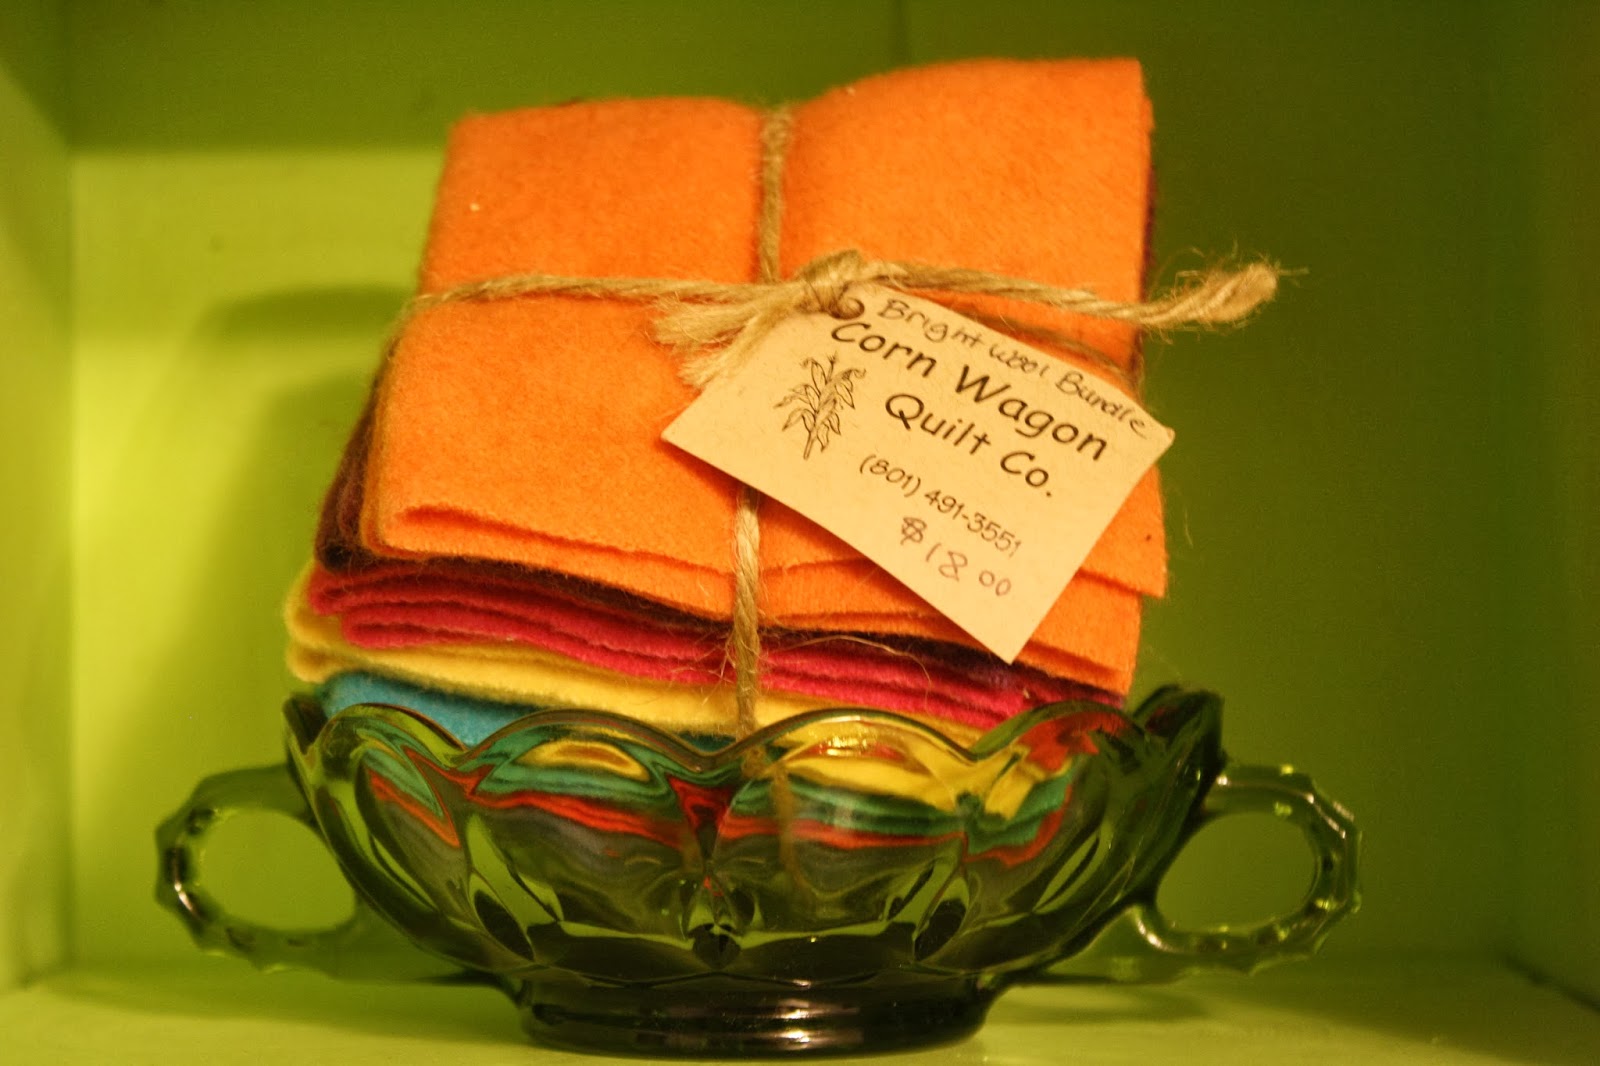
A green glass bowl holding some lovely wools I bought in Utah a couple of years ago...

Some handy dandy containers holding a little bit of everything...zippers, ric rac, buttons, bias tape etc...


More wire baskets holding left to right, Kona solids, my stash of Jinny Beyer prints, and my favorite, the mini shopping cart holding ric rac.

I made this crystal glass holder from a plate, bowl, and candlestick, all thrifted and glued together for the total price of $2. It holds some vintage buttons, also thrifted - this entire lot, also for $2!

Next time, the pink bureau. Stay tuned!

Saturday, November 16, 2013

Sneak Peek

Wow I CANNOT believe it's been 5 months since I last blogged! It seems like the world is moving from blogging to Instagram, Pinterest, Twitter and Facebook, all of which I use and love, but sometimes you just want to say more than you can on those platforms. I just hope there are still readers around that still enjoy blogs. I must admit, I've hardly read any myself lately. Tell me, is it a dying art or do we just keep plodding along in blogland?

Anyway, I've had a busy few months - the kids and I took a much needed and longed for trip to New Zealand over the Summer which was simply amazing. I'll have to do a post all about that one day, but today I want to show you a sneak peek of my pet project from the past couple of months.

I've been working hard on transforming my basement quilting area from basement blah to fabulous! I'm almost there and already I feel inspired when I come down here.

I refinished furniture, bought new pieces, and best of all, painted the walls and put down flooring! All at budget prices. I'm rather frugal and enjoy trolling the thrift shops for bargains and making pretty things on a low budget. I could just go and buy ready made things, but it feeds my need to be creative by making unique items myself!

So first of all, this is the mess I was dealing with 'before'...


Admittedly, it looks awful and is such a mess! I had started to pack things up to move out so I could get the furniture out and do the floors. About half of what you see has gone and will never be back!

Now, this is what I get to see when I go to the basement...


And that's just one side. I have a lot more to show you but I need to leave something for another day, right? I need to show you the before and afters of the furniture re-dos. They are night and day! Plus the floor. Oh my lovely beautiful gorgeous floor! You can see a little of it here but I need to get pics with more of it in view. Hey anything beats concrete under foot, right?! Stay tuned!

Saturday, June 22, 2013

Z is for ZOOM

Today I received AWESOME mail! Quilty mail in fact, which is the best mail of all! On Thursday I heard about an amazing quilt fabric sale at formandfabric.com - 60% off end of bolts, and only $2.99 flat rate shipping! I picked up a bunch of Anna Maria Horner fabrics, along with some Amy Butler, and Joel Dewberry among others.

Today, Saturday it arrived. ZOOM! That's just two days, from the moment they received my order, cut the fabrics, packaged it up, sent it, not to mention having to travel from Texas to New Hampshire. I am mightily impressed!

Plus, when I opened it up, it was wrapped up so prettily, which always makes my heart happy...


 Since I have a nice little collection of Anna Maria fabrics, I thought it was time they had their own place to live instead of in with all the rest. I happened to go to a huge yard sale today benefiting the Humane Society - 14,000 sq feet of second hand goodness! I picked up a beautiful blue glass bowl, which is happy having some pretty fabric sitting in it!


At the sale I also picked up this gorgeous little tin...

It reminds me of my mother and grandmother and makes me happy to look at it. I think I'll keep some sewing notions inside.

Also I bought a bread knife with a pretty handle, a large old wooden spool, and some jewelry.  It was a great day!


And with that, the A-Z challenge is complete! Back to my regularly scheduled blogging...which I was putting off because I felt guilty about not finishing the A-Z challenge. Ah yes good ol' guilt. Gets me every time!

X&Y are for BOY!

Just to get it out of the way, yep I know the A-Z Challenge finished almost 2 months ago yet here I am finishing up the alphabet...having said that, on with the show!

7 weeks ago my good friend had baby number 5, which conveniently for the A-Z challenge was a boy, so I get to combine X and Y in one post!

Here are a few photos I took of baby Caden just an hour old...


And here are some from 2 days ago when we went to a local lake. He was 7 weeks old!


He is just adorable. He's at that perfect age where they have learned to smile and can smile all day long!

I had known at their 20 week ultrasound that they were having a boy but they didn't! I knew for quilt-making purposes only! The ultrasound tech typed the words "Oh Boy" at the bottom of the picture revealing his boy bits, and handed it to me. I immediately knew his quilt needed to say, "Oh Boy" somewhere, so this is what I came up with...


I'm in the process of writing it up as a pattern, and I also have a girl version mostly made, which says, "My Girl". As a bonus, when you make the zig zags, you are left with dozens of cute little half square triangle units which you can then turn into a baby bag, which I'll also put in the pattern. One side blue, one side yellow! (The following photos were taken with my phone - sorry...they're typical phone quality pics!)


You can even fit your baby into the bag as you can see here...

Cuteness overload, I know!